What Is Zeroing Optics: A Practical Beginner’s Guide
Zeroing optics means adjusting your firearm’s sight so the bullet hits exactly where you aim at a specific, chosen distance. More precisely, zeroing aligns your Point of Impact (POI) with your Point of Aim (POA) by dialing the optic until the reticle and bullet strike match at your selected range. Without that alignment, even the finest scope on the market is just an expensive piece of glass.
The reason zeroing matters comes down to physics. Your barrel sits below your optic, typically 1.5 to 2.5 inches lower, so the bullet’s path and the optic’s line of sight are never naturally parallel. Zeroing compensates for that offset, plus the arc of the bullet’s trajectory, so both lines converge at your chosen distance. Get it right, and you shoot with confidence. Skip it, and you’re guessing with every trigger pull.
Before diving into the process, a few terms will appear throughout this guide:
- Point of Aim (POA): Where your reticle is centered on the target
- Point of Impact (POI): Where the bullet actually strikes
- Zero distance: The range at which POA and POI are intentionally aligned
- Windage: Horizontal adjustment of the reticle (left/right)
- Elevation: Vertical adjustment of the reticle (up/down)
- MOA / MRAD: Angular units used to measure and dial scope adjustments
Table of Contents
- Key terminology you need before zeroing any optic
- Why proper mounting sets the foundation for a solid zero
- How to zero your optic step by step
- Common zeroing mistakes and how to avoid them
- How zeroing works across different optic types
- Why zeroing optics is a maintenance procedure, not a one-time event
- Get a Custom Build That’s Ready to Zero
- Key Takeaways
Key terminology you need before zeroing any optic
Understanding the language of zeroing is like knowing the units on a recipe before you cook. Get the terms wrong, and the measurements mean nothing.
- Minute of Angle (MOA): An angular measurement equal to roughly 1 inch at 100 yards. Scopes click in small MOA increments, so one click moves the reticle about 1/4 inch at 100 yards. Four clicks equal one inch at that distance.
- Milliradian (MRAD): Another angular unit, common on precision and tactical scopes. At 100 yards, 1 MRAD corresponds to a small angular measurement equivalent to several inches at 100 yards, and most MRAD scopes adjust in 0.1 MRAD increments, moving the reticle about 0.36 inches per click.
- POA vs. POI: POA is where you’re aiming; POI is where the round lands. Zeroing closes the gap between them at your chosen distance.
- Zero distance: The specific range where your POA and POI are set to match. Common choices are 25, 50, and 100 yards, depending on caliber and use case.
- Windage and elevation turrets: The knobs on your scope. The top turret controls elevation (vertical), and the side turret controls windage (horizontal). Turning them moves the reticle in the corresponding direction.
- Ballistic trajectory vs. line of sight: Your line of sight is straight; your bullet travels in a parabolic arc. Zeroing picks the one distance where those two paths cross.
- First focal plane (FFP) vs. second focal plane (SFP): On FFP scopes, reticle markings remain accurate at any magnification. On SFP scopes, the reticle’s subtensions are only accurate at one specific power setting, usually maximum magnification.
Knowing whether your scope clicks in MOA or MRAD before you head to the range saves both time and ammunition. Check your manual, or look for the unit label on the turret cap.
Why proper mounting sets the foundation for a solid zero
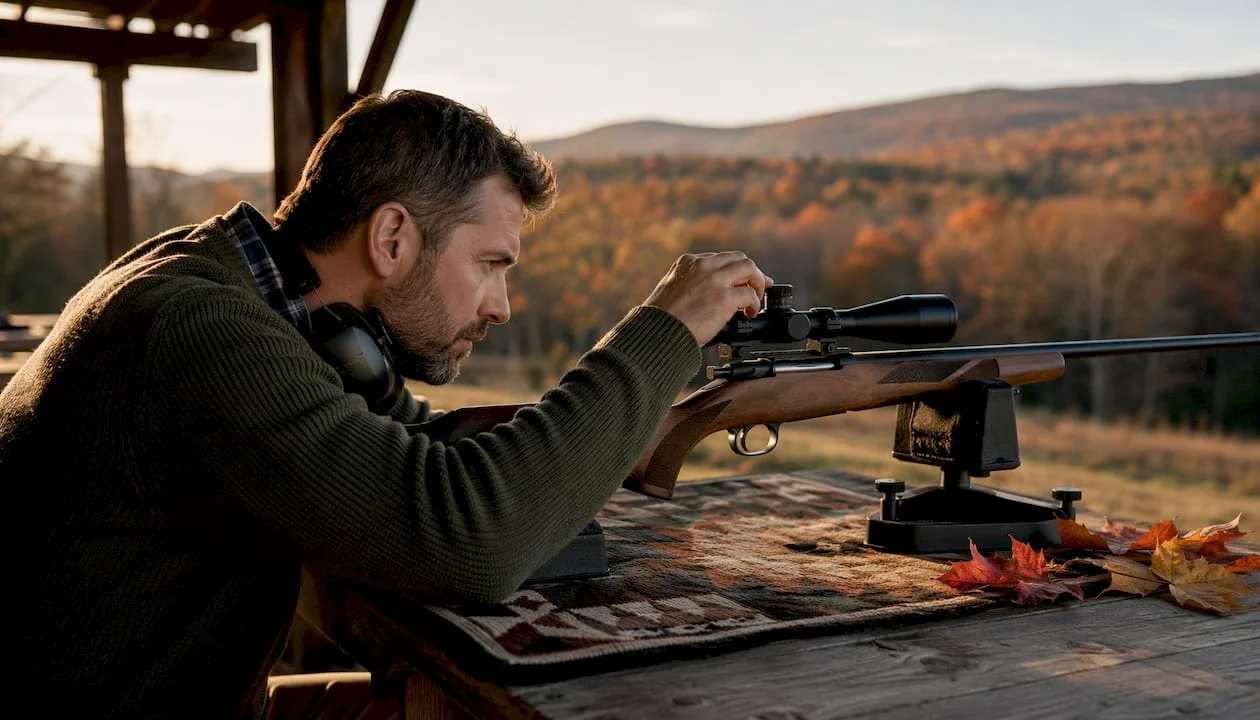
Mounting your optic correctly is not a preliminary formality. It is the foundation everything else rests on. A scope that shifts in its rings will never hold zero, no matter how carefully you dial the turrets.
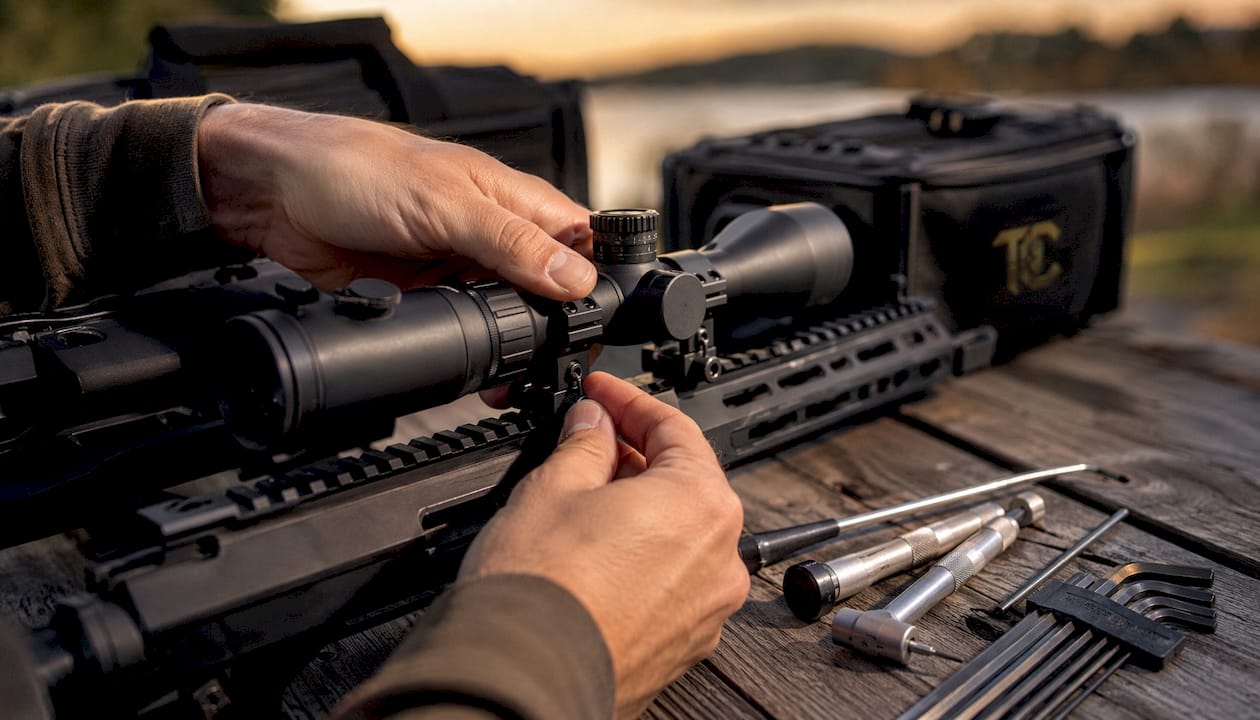
Start with the base and rings. Torque base screws and ring screws to manufacturer specifications before you fire a single round. Many manufacturers specify values like 65 in-lbs for base screws, and deviating from those specs, either too loose or too tight, creates problems. Loose hardware is the leading cause of a scope failing to hold zero under recoil.
Common mounting mistakes beginners make:
- Misaligned rings: Rings that are not level with the receiver cause the reticle to tilt, introducing cant errors that compound at distance
- Over-torquing ring caps: Crushing the scope tube deforms the erector assembly inside, making repeatable adjustments impossible
- Skipping thread locker: A small amount of thread locker on base screws prevents vibration from backing them out over time
- Ignoring eye relief: Setting eye relief incorrectly forces awkward head position, which changes your cheek weld and shifts your POI
Once the optic is mounted and torqued, check it by gripping the scope firmly and attempting to rotate it. Any movement means the rings need attention before you proceed.
Pro Tip: Use a bubble level on your scope rail and a second one on the reticle during mounting. Canted optics introduce lateral error that grows with distance, and no amount of windage adjustment corrects a fundamentally tilted mount.
A laser bore sighter can save significant ammunition at this stage. Insert it into the bore, project the laser on a target, and align your reticle to the dot. This gets you mechanically close before live fire. Keep in mind that lasers travel in a straight line while bullets arc, so bore sighting is a starting point, not a finished zero. Live fire confirmation is always required.
How to zero your optic step by step
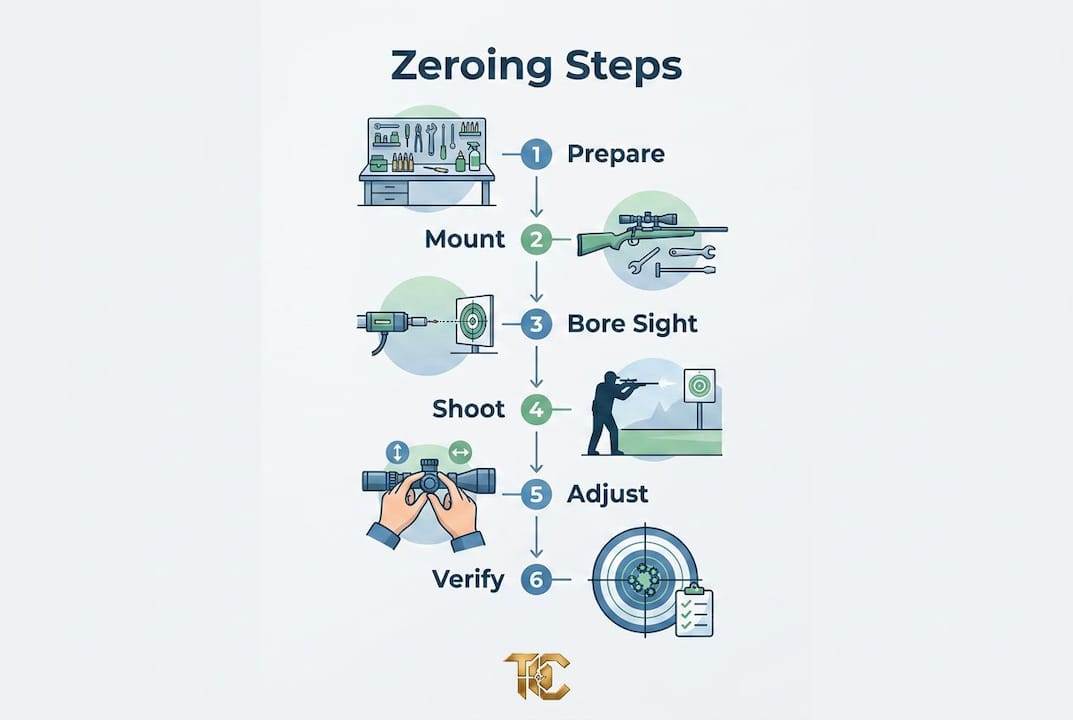
Zeroing a scope is a systematic process, not a single shot and a prayer. Approach it like a craftsman: prepare your materials, work methodically, and verify the result.
What you need:
- Your rifle, mounted and torqued optic, and a sufficient number of rounds of your chosen ammunition
- A stable shooting rest or sandbags
- Targets with 1-inch grid squares (they make measuring adjustments straightforward)
- A spotting scope or binoculars
- A notepad to record your settings
The process:
- Set your initial target at 25 yards. Starting at a close range helps detect large initial deviations. It also makes your first adjustments faster and less wasteful.
- Establish a stable position. Use a bench rest or sandbags to minimize shooter movement. Your position here should mirror how you plan to shoot in the field.
- Fire a group of 3–5 shots at the center of the target. Do not try to correct between shots. Let the group form naturally.
- Measure the group’s geometric center. Adjusting from a single shot is unreliable due to shooter error and ammunition variation. The center of the group is your true POI.
- Calculate your turret adjustments. Measure the distance in inches from the group center to your POA. Use your scope’s click value to convert: if your group is 2 inches low and your scope clicks in 1/4 MOA at 100 yards, at 25 yards you need four times as many clicks to move the same distance (since 25 yards is one-quarter of 100 yards).
- Adjust elevation first, then windage. Turn the top turret to move the reticle vertically, then the side turret horizontally. Most scopes are labeled with directional arrows.
- Fire another 3–5 shot group and repeat until your group centers on the bullseye at 25 yards.
- Move to 100 yards for final zero. The geometry changes at distance. At 100 yards, where it took 16 clicks to move an inch at 25 yards (with 1/4 MOA clicks), it now takes only 4. Fire another group, measure, adjust, and confirm.
- Document your final settings. Note the number of clicks from mechanical center for both elevation and windage. This makes re-zeroing after optic removal fast and repeatable.
Pro Tip: Zero from the shooting position you actually use in the field. A benchrest zero and a prone zero can differ by several inches at distance because recoil dynamics and cheek weld change with body position. A practical zero from your real-world stance is worth more than a perfect benchrest number.
Common zeroing mistakes and how to avoid them
Most zeroing failures trace back to a short list of repeatable errors. Knowing them ahead of time keeps you from burning through a box of ammunition chasing a problem that was never about the optic.
- Adjusting after one shot: A single round tells you almost nothing. Shooter flinch, trigger pull variation, and ammunition inconsistency all move that bullet. Always fire a 3–5 shot group and measure the center before touching the turrets.
- Zeroing from the wrong position: Zeroing at a bench and then shooting prone or standing introduces a real POI shift. Zero from the position you intend to use.
- Loose mounting hardware: If your zero drifts between sessions, check the rings and base before assuming the scope is defective. Loose screws under recoil are the most common culprit.
- Maxed-out turrets: If your elevation or windage turret reaches its limit before you achieve zero, the problem is almost certainly a mounting or alignment issue, not the optic. A factory-centered red dot reaching maximum adjustment is a clear signal to check your mount before continuing.
- Treating a bore sighter as a finished zero: Laser bore sighters are a starting tool. Bullet trajectories are parabolic; laser beams are straight. The two diverge beyond close range, so live fire confirmation is non-negotiable.
- Ignoring ammunition consistency: Switching between different bullet weights or brands mid-zeroing session introduces variables that make your group measurements meaningless. Use one load throughout the zeroing process.
Pro Tip: Torque your ring and base screws to the manufacturer’s specified value every time you remount an optic. Skipping this step, even once, is how shooters end up re-zeroing a scope that was perfectly dialed in the session before.
Proper firearm maintenance extends well beyond the range session. Storing your rifle correctly between uses protects both the optic and the zero you worked to establish. Poor storage conditions, including temperature swings and humidity, can affect both hardware and zero stability over time. For guidance on protecting your investment between range trips, off-season firearm storage practices are worth reviewing.
How zeroing works across different optic types
The core zeroing process stays consistent, but the specifics shift depending on what you have mounted and what you’re shooting.
Rifle scopes
A typical zero distance for many centerfire rifles is around 100 yards. It correlates well with ballistic charts and covers the majority of practical shooting scenarios. Rimfire and pistol-caliber carbines often use a 50-yard zero where shorter effective range applies. Precision shooters sometimes use a 200-yard zero to extend their effective range before needing holdover corrections.
First focal plane scopes allow you to use reticle subtensions for holdover at any magnification, which is useful for ranging and long-range corrections. Second focal plane scopes are only accurate at one power setting, so confirm which setting your reticle is calibrated for before zeroing.
Red dot sights
Red dot sights use a single focal plane and are adjusted with turrets or buttons rather than a traditional scope’s capped knobs. For a pistol-mounted red dot, a 25-yard zero is practical for self-defense distances. A rifle-mounted red dot frequently zeros at a moderate distance, which provides a useful near/far zero relationship for carbine-length engagements.
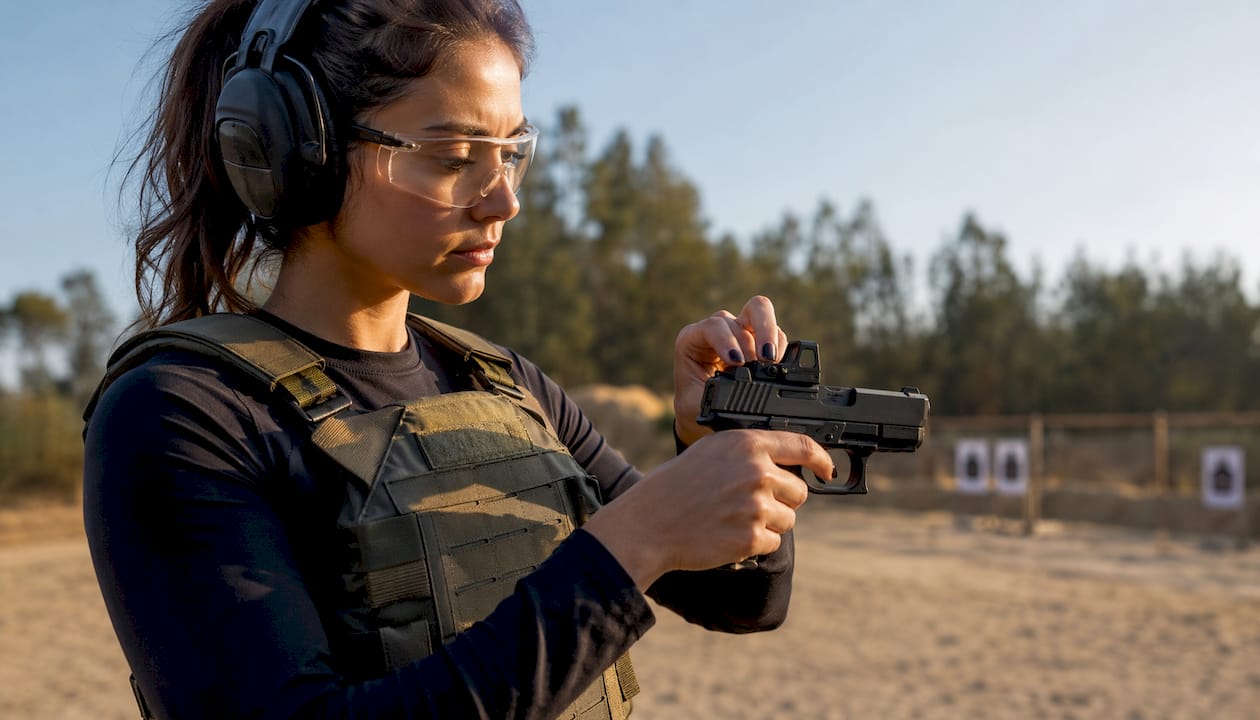
The adjustment formula for red dots uses MOA the same way rifle scopes do. Measure the distance in inches between your POI and POA, then apply the MOA formula for your zeroing distance to calculate the required clicks.
Pistol-mounted optics
Pistol optics present a unique challenge because the shorter sight radius and higher recoil make consistent groups harder to achieve. Zero at 25 yards, use a rest or a Ransom Rest if available, and fire larger groups (5–7 shots) to get a reliable group center before adjusting.
Environmental factors
Temperature, humidity, and altitude all affect bullet trajectory, which means a zero established in summer at sea level may print slightly differently in cold mountain air. These shifts are usually minor at typical zeroing distances but become meaningful at 300 yards and beyond. Shooters who move between significantly different environments should verify zero before relying on it. Understanding how optics affect accuracy in varied conditions helps you anticipate when a re-check is warranted.
Re-zeroing after changes
Removing and remounting an optic almost always requires re-zeroing, even with a return-to-zero mount. Changing rings, switching to a different base, or adjusting the scope’s position on the rail all shift the relationship between bore and reticle. If you documented your original turret settings from mechanical center, re-zeroing is a matter of minutes rather than a full range session.
Why zeroing optics is a maintenance procedure, not a one-time event
Zeroing is not a box you check once and forget. Think of it the way you think about a well-maintained piece of gear: it performs reliably because someone keeps it in condition. The U.S. Army’s own doctrine frames zeroing as a maintenance procedure, not a training event, accomplished to place the weapon in operation based on the shooter’s skill, aiming device, and ammunition.
That framing matters practically. Any time you change ammunition, swap optics, adjust your mount, or take a hard impact to the rifle, your zero is suspect until confirmed. Seasonal temperature swings can shift point of impact on precision rifles. A scope that holds zero through a hunting season of hard use deserves a verification session before the next one.
Keeping a log of your zero settings, including the load, distance, turret positions from mechanical center, and environmental conditions, turns re-zeroing from a chore into a five-minute confirmation. It also tells you when something has genuinely shifted versus when you’re chasing a bad day at the range. For a deeper look at the full scope of rifle zeroing procedures, Tungstencreektactical has additional resources covering precision applications in detail.
Get a Custom Build That’s Ready to Zero

A properly zeroed optic is only as good as the platform it sits on. At Tungstencreektactical, every custom firearm build is assembled with the precision and attention to detail that makes zeroing straightforward rather than a frustrating guessing game. From rail geometry to mounting hardware, the foundation matters. If you’re building a rifle or pistol that needs to perform, talk to the team at Tungstencreektactical about a build that starts right.
Key Takeaways
Zeroing optics aligns your bullet’s point of impact with your reticle’s point of aim at a chosen distance, and maintaining that zero requires proper mounting, consistent ammunition, and periodic verification.
| Point | Details |
|---|---|
| Zero = POA meets POI | Zeroing adjusts the optic so the bullet strikes exactly where the reticle is centered at your chosen distance. |
| Always use shot groups | Fire 3–5 shots and measure the group’s center before adjusting turrets; single-shot adjustments are unreliable. |
| Torque hardware first | Tighten base and ring screws to manufacturer specs before zeroing to prevent zero shift under recoil. |
| Zero distance varies by platform, with 100 yards most common for centerfire rifles, 50 yards for rimfire and pistol-caliber carbines, and 25 yards for pistol red dots. | |
| Re-zero after any change | Removing the optic, switching ammunition, or changing mounts requires zero verification before use. |
Recommended
Related Post

Discover the 5 ways
An introduction to Tactical Luxury Guns & Coffee We founded
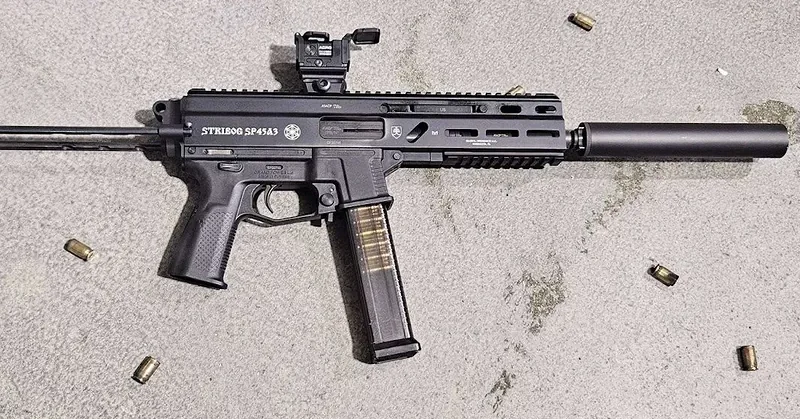
Top 5 Best PCC’s
In 2026, the Pistol Caliber Carbine (PCC) market is no