
How to Set Up a Gun Safe: A Practical Guide
Proper gun safe setup is defined as the full process of selecting, positioning, anchoring, and maintaining a secure storage unit for firearms. Done correctly, it prevents unauthorized access, satisfies legal storage requirements in many states, and protects your investment from theft and environmental damage. Knowing how to set up a gun safe means more than buying a heavy box and sliding it into a corner. Location, anchor type, floor material, and moisture control all determine whether your safe actually holds up under real-world pressure. This guide covers every step, from gathering tools to long-term maintenance.
What tools and materials do you need for gun safe installation?
Preparation separates a solid installation from one that fails under stress. Gather every tool before you move the safe into position, because repositioning a loaded safe mid-installation wastes time and risks injury.
Required tools and materials:
- Hammer drill with masonry and wood bits
- Socket wrench and appropriate socket set
- Torpedo or bubble level
- Vacuum or compressed air (for cleaning anchor holes)
- Tape measure and pencil
- Safety glasses and work gloves
- Anchor bolts suited to your floor type (expansion bolts for solid concrete, resin anchors for crumbly block, lag bolts for wood subfloors)
- Hard rubber mat or moisture barrier sheet
- Shims (for uneven floors)
Anchor selection is the detail most owners get wrong. Anchor type depends on base material for maximum holding power. Expansion or wedge bolts grip solid masonry through mechanical force. Resin anchors chemically bond to softer or crumbly block, filling voids that expansion bolts cannot grip. Using the wrong anchor on the wrong surface produces a setup that looks secure but fails under pry-bar pressure.
Pro Tip: Lay out every tool in the order you will use it before moving the safe. This prevents the common mistake of leaving a critical bit or bolt in another room once the safe is in position.
How do you choose the ideal location for your gun safe?
Location determines both security and long-term structural integrity. A safe placed on the wrong surface or in the wrong room creates problems that no amount of good anchoring can fix.
The ideal installation surface is a solid concrete slab or brick. Concrete provides the highest anchor-holding strength and the most stable base for a heavy unit. Wood subfloors on upper stories can support a safe, but only when the safe sits directly over floor joists, not between them. Stud walls require a steel backplate or through-bolting to handle the lateral force a determined thief applies.
Strong location choices include:
- Ground-floor closets with concrete slab below
- Home office corners anchored to slab
- Basement floors with direct concrete access
- Garage walls with reinforced framing
Locations to avoid:
- Upper floors without confirmed joist support directly beneath the safe
- Drywall-only walls with no structural backing
- Areas with high humidity, such as unventilated bathrooms or exterior-facing garage walls in wet climates
Concrete floors wick moisture that causes corrosion at the safe’s base and damages firearm finishes over time. A hard rubber mat or moisture barrier between the safe and the slab solves this problem at minimal cost. This step is easy to skip and expensive to regret.
Corner placement adds a layer of passive security. Two walls limit the angles from which a thief can apply leverage, reducing the mechanical advantage available to pry the safe open or tip it.
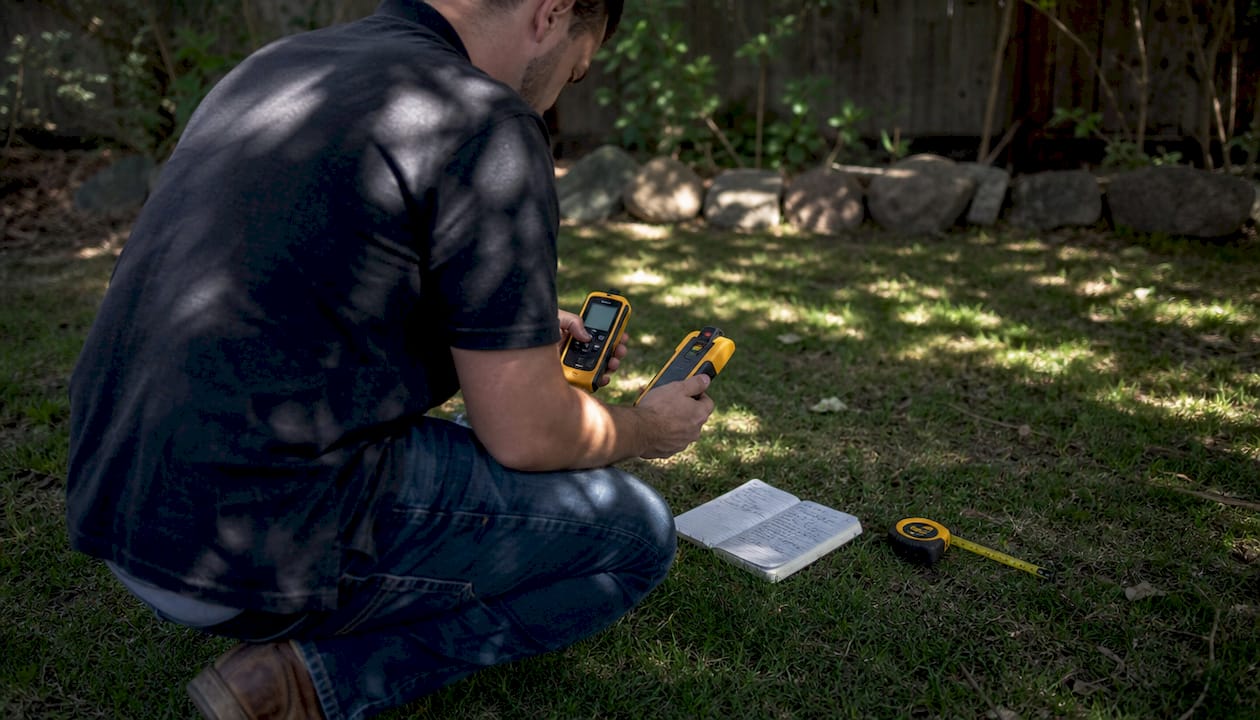
Pro Tip: Before committing to a location, use a stud finder and a moisture meter. Confirm joist placement and check ambient humidity. A reading above 60% relative humidity signals that you need a dehumidifier rod inside the safe from day one.
For a broader look at secure firearm storage practices, Tungstencreektactical’s 2026 storage guide covers complementary methods worth reviewing alongside this installation process.
How do you install and anchor a gun safe step by step?
The anchoring process is where most installations succeed or fail. Follow each step in sequence and do not skip the cleaning stage.
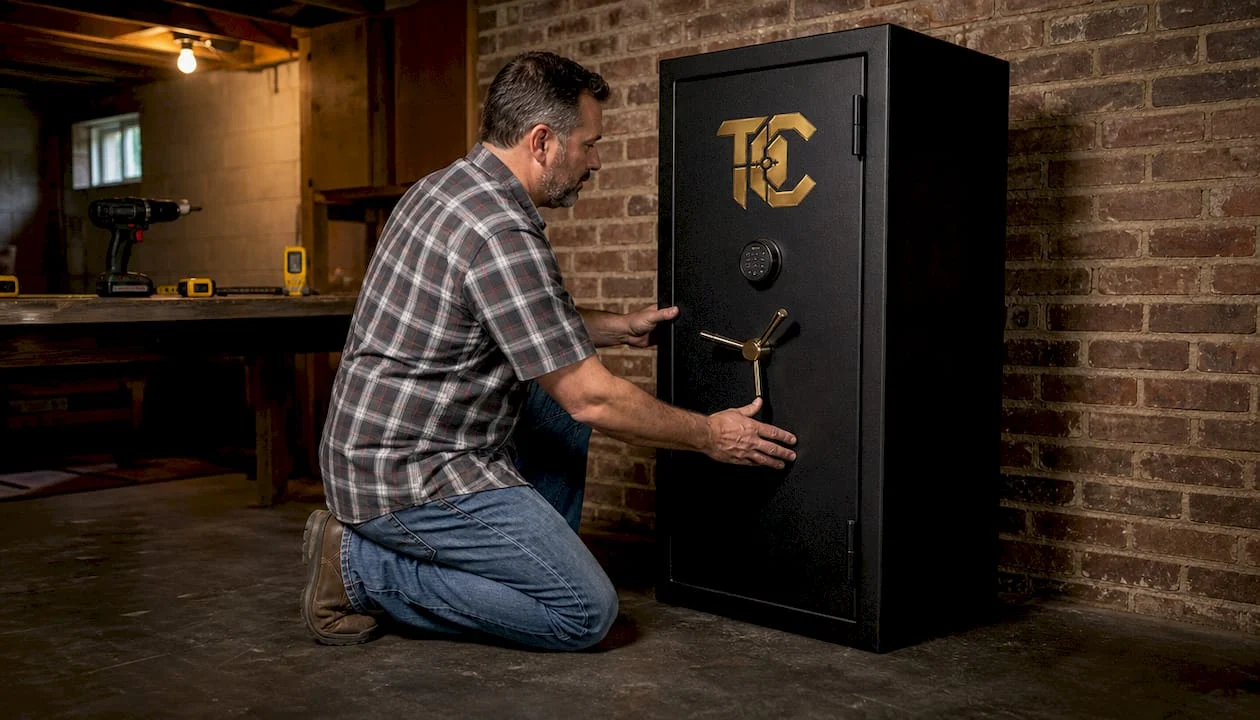
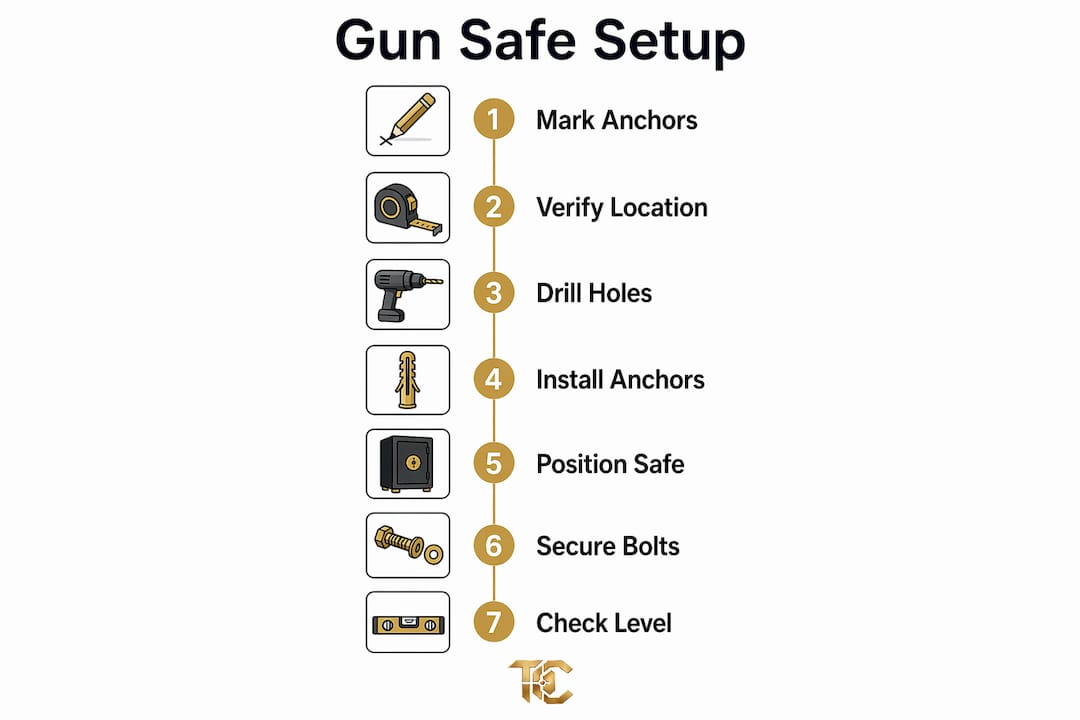
- Position the safe in your chosen location. Confirm the door swings fully open without hitting a wall, cabinet, or appliance. Hinge stress from a blocked door causes premature wear on the locking mechanism.
- Mark anchor points through the pre-drilled holes in the safe’s floor or back panel. Use a pencil or marker. Double-check that marks align with solid material, not hollow space.
- Move the safe aside and drill anchor holes to the depth specified by your anchor manufacturer. Use a masonry bit for concrete or a wood bit for subfloors. Match bit diameter to anchor diameter exactly.
- Clean the holes thoroughly. Drilling dust reduces anchor grip and chemical bonding, leading to failure under stress. Use a vacuum and compressed air to remove all debris before inserting anchors.
- Insert the appropriate anchors. Tap expansion bolts into concrete until flush. Inject resin into crumbly block holes and insert the threaded rod before the resin sets. Thread lag bolts into wood subfloors by hand first.
- Reposition the safe over the anchor points. Thread bolts through the safe’s floor holes and into the anchors below.
- Tighten anchor bolts evenly using a socket wrench. Tighten to manufacturer specifications. Over-torquing cracks concrete and strips threads, weakening the entire setup.
- Level the safe using a spirit or bubble level placed on the top surface. Testing locks and leveling prevents long-term hinge stress and door misalignment. Insert shims under the base if needed before final tightening.
- Test the lock mechanism at least five times with the door open before closing it for the first time. Confirm the bolt work engages and retracts smoothly.
| Step | Key action | Common error |
|---|---|---|
| Mark anchor points | Align with solid material | Marking over hollow space |
| Clean holes | Vacuum and compressed air | Skipping this step entirely |
| Insert anchors | Match anchor to floor type | Using expansion bolts in crumbly block |
| Tighten bolts | Follow manufacturer torque spec | Over-torquing and cracking concrete |
| Level the safe | Use spirit level, add shims | Assuming the floor is flat |
| Test lock | Five cycles with door open | Closing door before confirming function |
Pro Tip: Take a photo of the anchor point locations before sliding the safe back into position. If you ever need to remove the safe for maintenance, you will know exactly where the bolts are without guessing.
What are the most common gun safe setup mistakes?
Even careful owners make predictable errors. Knowing them in advance saves you from a reinstallation.
- Anchoring to drywall alone. Drywall has no structural strength. A safe bolted only to drywall can be pulled free with moderate force. Always anchor to studs, concrete, or reinforced backing.
- Over-tightening anchor bolts. The most common installation mistake is over-torquing, which weakens the concrete or strips the anchor thread. Snug and firm is correct. Cranking until the wrench slips is not.
- Ignoring floor slope. Many garage and basement floors slope slightly for drainage. An unlevel safe puts uneven stress on hinges and the locking bolt work. Use shims or a self-leveling compound before anchoring.
- Blocking the door swing. A door that cannot open fully forces you to reach awkwardly for firearms and stresses the hinge pins over time. Measure the full arc of the door before finalizing position.
- Skipping the one-week check. Anchor bolts loosen after settling, especially on wood floors or with heavy safes. Return with a socket wrench seven days after installation and re-tighten every bolt.
“An unanchored safe, regardless of weight, is vulnerable to tipping or removal. Anchoring is the most effective upgrade to improve real-world theft resistance. Immobility matters more than metal thickness for security.”
This point reframes how most owners think about safe selection. Buyers focus on steel gauge and fire ratings. Professionals focus on how well the safe is fixed to the structure. A 600-pound safe that is not anchored can be tipped with a floor jack and rolled out on furniture dollies. A 200-pound safe bolted to a concrete slab is far harder to move.
If you are navigating firearm storage compliance requirements in your state, legal guidance specific to your jurisdiction is worth reviewing before finalizing your setup.
How do you maintain your gun safe setup long term?
A properly installed safe requires periodic attention to stay effective. Think of it like maintaining a quality firearm: neglect produces failure at the worst possible moment.
- Re-check anchor bolt tightness every three to six months. Floor settling, temperature changes, and vibration all loosen fasteners gradually.
- Monitor interior humidity. Place a hygrometer inside the safe to track relative humidity. Target 40%–50% relative humidity to prevent rust and wood stock damage. A small electric dehumidifier rod draws minimal power and keeps moisture in check year-round.
- Never store damp items inside the safe. Wet holsters, range bags, or cleaning cloths raise interior humidity rapidly and accelerate corrosion.
- Inspect the lock mechanism every six months. Cycle the combination or electronic keypad and confirm the bolt work moves freely. Lubricate bolt work with a dry lubricant, not oil, which attracts dust.
- Check the floor beneath the safe annually for signs of settling, cracking, or moisture intrusion. A shifting floor changes the load on anchor bolts and can introduce a gap between the safe base and the surface.
Pro Tip: Set a recurring calendar reminder every six months labeled “safe maintenance.” Treat it the same way you treat a vehicle oil change. Consistent attention prevents the kind of slow degradation that only becomes obvious when something fails.
For additional responsible ownership practices that complement secure storage, Tungstencreektactical covers eight proven habits worth building into your routine.
Key Takeaways
Proper gun safe setup requires the right anchor type for your floor material, a level installation, and consistent maintenance to remain effective over time.
| Point | Details |
|---|---|
| Anchor type matters | Match expansion, resin, or lag anchors to your specific floor material for maximum hold. |
| Concrete is the best base | A solid concrete slab provides the strongest anchoring surface and the most stable foundation. |
| Clean holes before anchoring | Removing drilling dust is non-negotiable; debris reduces grip and causes anchor failure under stress. |
| Never over-torque bolts | Tighten to manufacturer specs only; over-torquing cracks concrete and weakens the anchor. |
| Maintenance is ongoing | Re-check bolt tightness after one week and every three to six months thereafter. |
What I have learned from setting up gun safes the hard way
The detail that separates a good installation from a great one is almost always preparation, not the safe itself. I have seen owners spend serious money on a quality unit and then anchor it to a single layer of drywall because they did not want to locate the studs. The safe looked right. It was not.
The moisture barrier is the step I see skipped most often, and it is the one that causes the most regret. Concrete looks dry. It is not. Over months, moisture wicks up through the slab and into the safe’s base, rusting the bottom of long guns and corroding the safe’s interior finish. A $15 rubber mat prevents a $500 problem.
My honest recommendation: anchor first, organize second. Owners spend hours planning interior layout and almost no time on the anchor process. Flip that priority. A safe that cannot be moved is doing its job. A beautifully organized safe that tips over in a burglary is not.
Responsible firearm ownership and secure storage go together the same way a well-selected cigar pairs with good coffee. Both deserve the same level of deliberate attention. Neither works well when rushed.
— Brian
Tungstencreektactical: precision firearms and gear for responsible owners

Tungstencreektactical serves firearm owners who take both their equipment and their responsibilities seriously. If you are building out a complete secure storage setup, the next logical step is making sure the firearms inside that safe are worth protecting. Tungstencreektactical’s custom-built firearms are precision-crafted for owners who want reliability and quality they can count on. The team also provides legal ownership guidance to help you stay compliant at every stage of ownership. Visit Tungstencreektactical to see the full selection of firearms, tactical accessories, and expert resources built for owners who do not cut corners.
FAQ
What is the best floor type for anchoring a gun safe?
A solid concrete slab is the best surface for anchoring a gun safe. It provides the highest holding strength for expansion and wedge-style anchor bolts.
How do you set up a gun safe on a wood floor?
Position the safe directly over floor joists and use lag bolts sized to penetrate through the subfloor and into the joist. Re-check bolt tightness after the first week, as wood floors settle and loosen fasteners.
Why does leveling matter when installing a gun safe?
An unlevel safe puts uneven stress on the door hinges and bolt work, causing premature wear and potential misalignment. Use a spirit level and shims to correct any slope before final anchoring.
How often should anchor bolts be checked after installation?
Re-check anchor bolt tightness after the first seven days, then every three to six months. Settling, temperature changes, and vibration all gradually loosen fasteners over time.
Does safe weight alone prevent theft?
Weight alone does not prevent theft. An unanchored safe can be tipped or rolled out regardless of how heavy it is. Anchoring the safe to a structural surface is the single most effective security measure.
Recommended
Related Post

Discover the 5 ways
An introduction to Tactical Luxury Guns & Coffee We founded
Top 5 Best PCC’s
In 2026, the Pistol Caliber Carbine (PCC) market is no